Fixing the Schletter Brackets to the roof
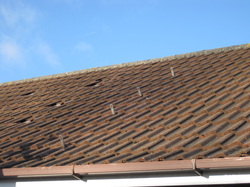
The area of the installation is assessed and the tiles are removed and the brackets are fitted to the joist. The tile will have a small groove taken out of the bottom to enable the tile to be placed back over the bracket.
Fixing the rail to the brackets
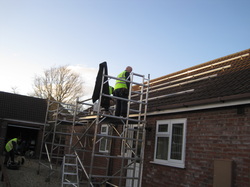
Next the rail is fixed to the brackets, to enable the solar PV panels to be fitted. All the tiles have been replaced, and the cables inserted into the loft space for the inverter.
Installing the Solar PV Panels
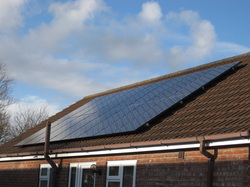
Next we install the panels to the brackets, making sure they are level, and all the measurements are accurate for the finish of the roof installation. The panels used on this roof space are the Sanyo HIT250 watt, and are one of the best looking panels currently on the market.
Installing the Inverter
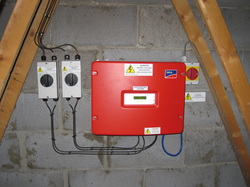
The inverter is the component that changes the DC created form the Solar Pv array to AC utilised by your household electrical system. Located next to theinverter are the DC isolators and the AC isolators for safety.